 Skip to content
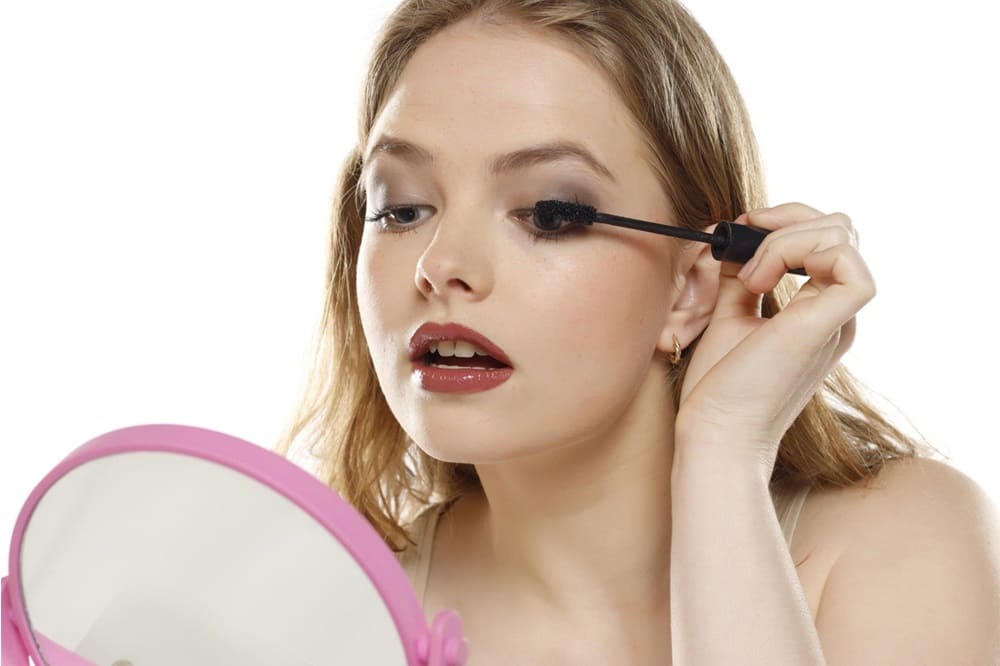
Would you like to do an eyelash perm at home? This technique allows you to give an incredible curvature to your natural eyelashes so that they look much curlier and look perfect when you apply mascara. To do it, it is necessary that you first inform yourself about the products and materials that are required and that you know what all the steps to follow are so that the final result is as expected. It is best that these types of treatments are carried out by professionals in the sector, but if you want to try doing it yourself, keep reading this article in which we show you how to perm eyelashes at home step by step.
How to do eyelash perm at home
Eyelash perm is a treatment that curls natural eyelashes and gives them a more pronounced curvature, which will undoubtedly enhance the expressiveness of your look and give your eyes a much more striking image. With the curl provided by this technique, you will not have to use the eyelash curler before applying the mascara, since they will already be perfectly curved.
The treatment is carried out quickly and easily, it usually lasts approximately 60 minutes, and the results are seen immediately. The eyelashes will remain curled for about 3 months, after which time they will return to their natural state. Its price varies, since it will depend on the beauty center where you have the treatment, but it is usually around 25 euros
2. It is best to go to a professional beauty center to avoid damaging natural eyelashes, especially if we do not have experience in carrying out this type of treatment. Now, if you want to perm your eyelashes at home or know someone who can help you do it from the comfort of your home, it is important that you first take a series of factors into account.
We start with the materials you need, you must purchase a kit to perm eyelashes sold in professional cosmetics stores. This kit must contain the following:
- Permanent glue.
- Perm gel.
- Liquid neutralizer.
- Curlers or curlers.
- Eyelash brush-comb.
- Orange stick.
Keep in mind that the eyes are very delicate and sensitive, so even if the products are special for the eye area, it is important that you avoid them getting into them, as they could cause a little itching and redness.
3. Before starting the procedure, it is essential that you clean your eyes and remove any trace of makeup. To do this, it is best to use a biphasic eye makeup remover , as it is a product that combines an oily base with a water-based one that cleans deeply, eliminating even the most resistant makeup, such as waterproof or water-resistant makeup.
4. Once the eyes are completely clean, it is time to start perming the eyelashes and to do this you must carry out all the steps that we list below, respect the order that we show and do not skip any if you want to obtain good results. and dazzle with amazing eyelashes.
- Apply a line of the glue that comes in the kit just above the upper eyelashes, as close to the hair roots as possible.
- With your fingers, shape the curler or curler by curving it a little and place it over the line of glue you just applied.
- Now reapply a little more glue on the curler.
- With the orange stick, stick the hair of the eyelashes to the curler, following an order and placing them well. It is very important that the eyelashes are not crowded or too close together, since as they stick together, they will remain that way at the end of the procedure.
- With the help of the orange stick, apply a little of the perm gel to all the hairs on the eyelashes.
- Cover the eye area with plastic wrap and put a towel on top of it as well. Wait about 15 minutes.
- After that time, apply a drop of the liquid neutralizer to the eyelashes.
- Cover the area again with the plastic wrap and towel and let it rest for another 15 minutes.
- After time, you just have to remove both the curler and the product with a cotton pad moistened with water.
With all these steps, you will have your eyelash perm done and your eyes will look much more impressive.
5.After perming your eyelashes, it is normal for you to have some questions, such as: can I put on makeup normally? Well, the answer is yes, you can use mascara just as you did before.
Of course, we recommend that you do not put makeup on them right after the treatment and, above all, that you do not clean or rub them after curling, as this could reduce the duration of the perm considerably. When you are going to remove your eyelashes, it is important that you do it carefully, use a cotton pad moistened with a makeup remover and pass it over the eyes gently, without pressing or dragging the product.
6.And if you still don’t dare to do an eyelash perm at home, but you want to show off much curlier eyelashes , nothing better than starting to do some of the tricks that we reveal below, you will be able to give them greater curvature and in a completely natural way. :
- Wet a metal spoon with hot water. Once it is hot, but not burning, place the back of the spoon on the mobile eyelid right at the root of the upper eyelashes. Keep the spoon in this position and with your thumb press the hairs against the spoon as if you wanted to adhere them to it.
- Pour a drop of aloe vera gel onto your fingertip and apply it to your eyelashes from the roots to the tips.
- Apply a little Vaseline to your eyelashes every night before going to sleep, you will see how they become thicker, curved and longer.
- When applying mascara , to get curlier eyelashes, it is important to brush the brush from the base to the tips using zig zag movements.
